Changes
-
Saturday
The nice Evri lady delivered a parcel this morning containing the servo complete with master cylinder that I got from Dave at M & M Mini and Metro Spares in Warrington. It was a bit rusty and the paint was chipped in places so I treated it to a clean up with a wire brush and some emery paper and then a couple of coats of black gloss spray paint. All ready now to take to Steve on Monday.
-
Day 5
I have managed to track down a second-hand servo and master cylinder for £60 including p&p so now waiting for them to arrive. I have the Midas booked in with Steve for Monday 17th July to fit the servo as the advice we have received is that the problem is caused by a faulty servo. If that doesn’t work we will then try the master cylinder but that will require re-making some of the brake lines as the replacement master cylinder is only 2 output rather than the 3 output that is currently on my Midas. So hopefully I will be back on the road next week in time for the Newark Show and my local car club meeting.
-
Day 4
I took the Midas round to visit a friend in my village today and on my way back home the brakes started to lock on. I managed to get it back to Steve at the local Mini Centre. He had it for a couple of hours and found that the grommet securing the flexible vacuum pipe to the servo was split and so he replaced it and adjusted the mixture as it was now running rich. He took the master cylinder off and checked the actuating rod from the servo to ensure that was adjusted properly and he found there was no adjustment on it as there should have been. He could find nothing else wrong and so I collected it back from him. Took it for a longer test drive, again only round my village and found again that the brakes locked on. I cracked the brake lines to reduce the pressure and took it home. Steve and I are now trying to track down a new master cylinder but as mine is a 3 output one, not the more normal 2 output one, it is proving impossible to find one.
-
Day 3
I gave Steve at the Sleaford Mini Centre a list of things to do to the Midas for me:
1. Replace head gasket due to oil leak2. Check engine oil pressure relief valve as maximum pressure all the time.3. Fuel pressure regulator needs setting up as was not done when new pump fitted4. If possible, paint cylinder head and inlet manifold when they have been removed
5. John Noble reckons there may be a vacuum leak
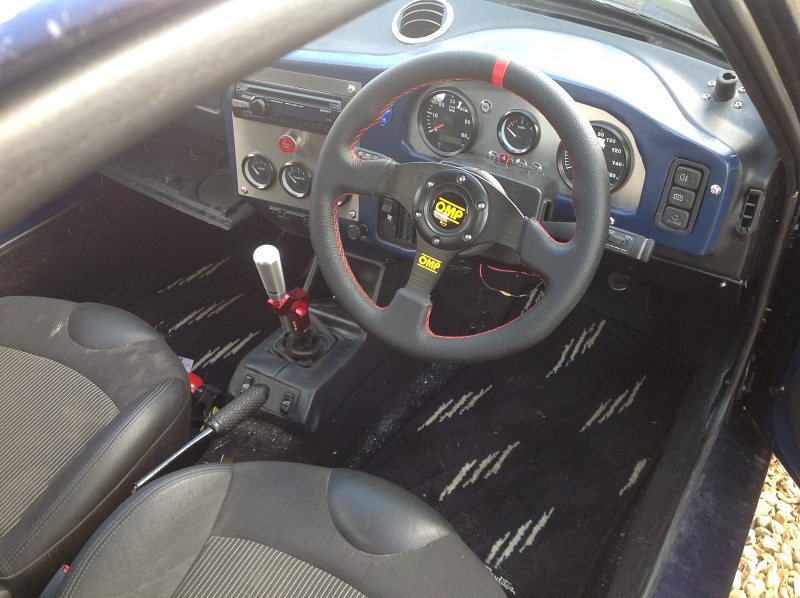
6. Please check timing as does not seem right to me7. Please bolt down drivers’ seat, bolts provided head of bolt under car nut inside8. Pump up front suspension should be 12.25 inches from centre of wheel to underside of wheel arch (not standard Metro setting)9. Check brakes as the pedal goes hard and they seem to then be locked on.10. Check and repair as necessary anything else needed for MOT11. Remove front and rear towing straps12. MOT requiredI am happy to say that Steve managed to do all the jobs that I gave him.I collected the car this afternoon with all the work done and it starts and runs so much better and now the front suspension is at the correct height the Midas looks so much better.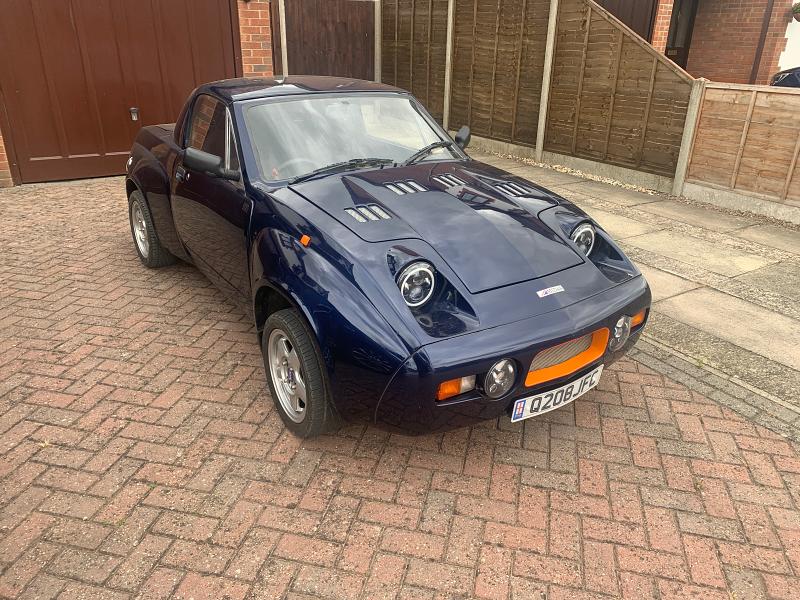
-
Day 2
Today John Noble was round at 8.30am to load up the Midas and take it to Steve at Sleaford Mini Centre to sort out the head gasket, sticking brakes and other minor problems and to get it MOT’d for me. With luck I should get it back by next weekend. I also ordered a hydrolastic suspension pump from eBay as the front needs pumping up as it is too low at the moment.
-
Day 1
Today I started to do some work on the Midas before it goes to the garage at the end of the week.
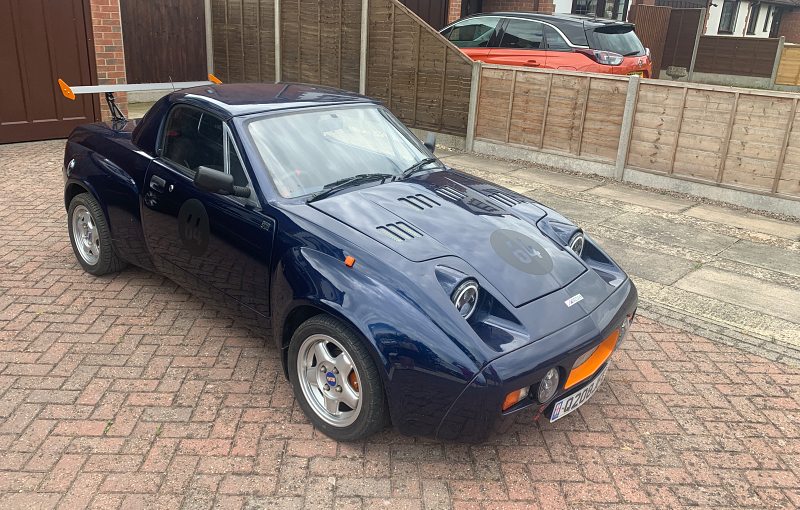
First job was to remove the towing stickers which came off without issue just leaving a little sticky residue behind. Some alcohol removed the residue. Then it was onto the number stickers. In case the paint had faded beneath the sticker I decided to remove the one from the boot lid first, reasoning that I will have to have this resprayed when I fill the holes after removing the spoiler. The sticker peeled off easily but did leave residue so it was out with the alcohol again. The same with the number stickers on the doors and the bonnet, all needed some alcohol to remove the sticky residue. I then cleaned the remainder of the residue off with some T-Cut and then gave it a quick wax in those areas, the whole car will get a wash and wax once the work is finished.
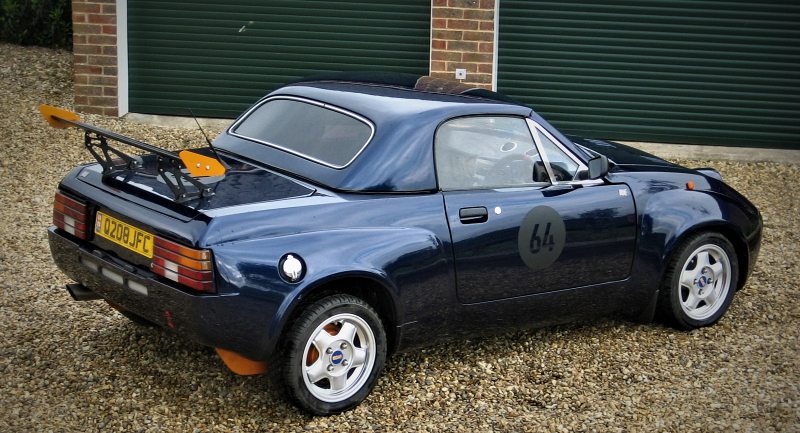
I removed the rear spoiler and have temporarily put some black bolts in the holes. I will get some rubber grommets for now and over the winter will get them properly filled and the whole boot lid painted.
I gave the inside a quick vacuum clean and stuck some loose carpet down in the boot.

Stickers removed 
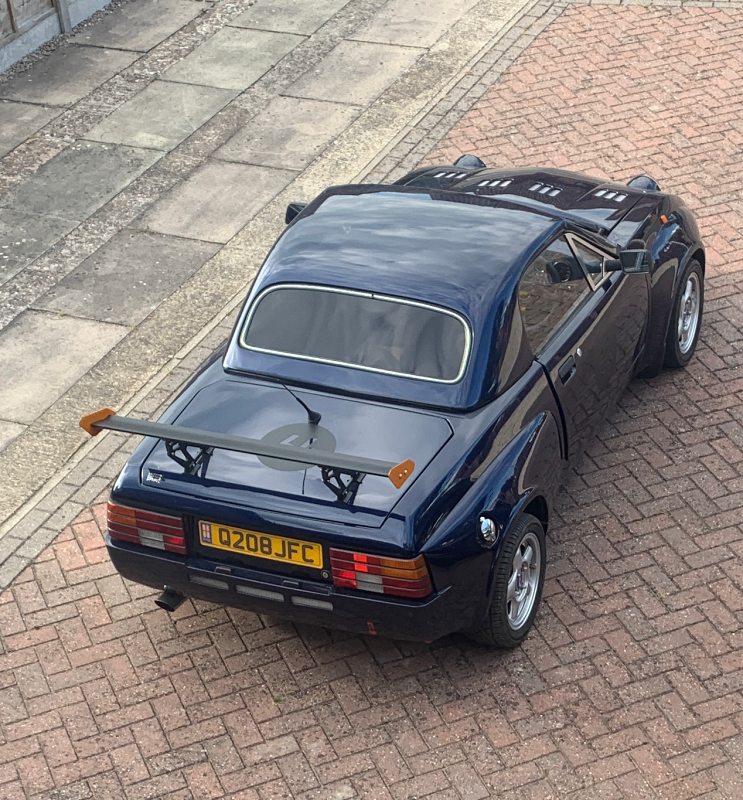
Spoiler removed -
Collected
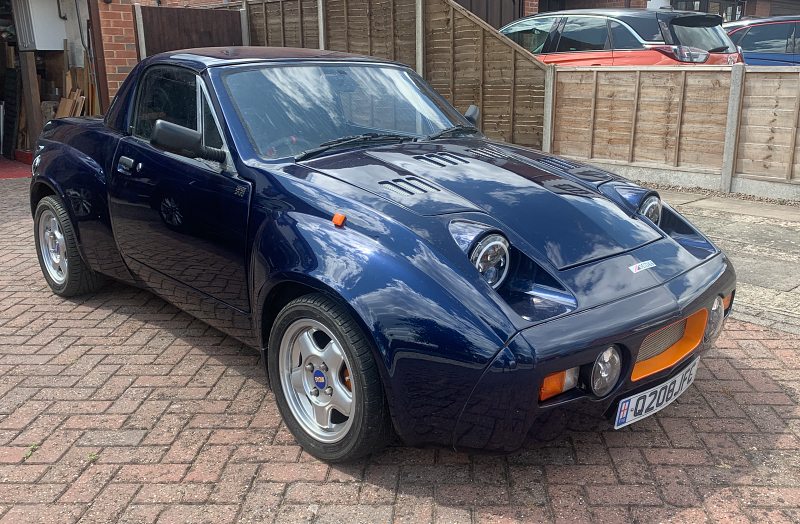
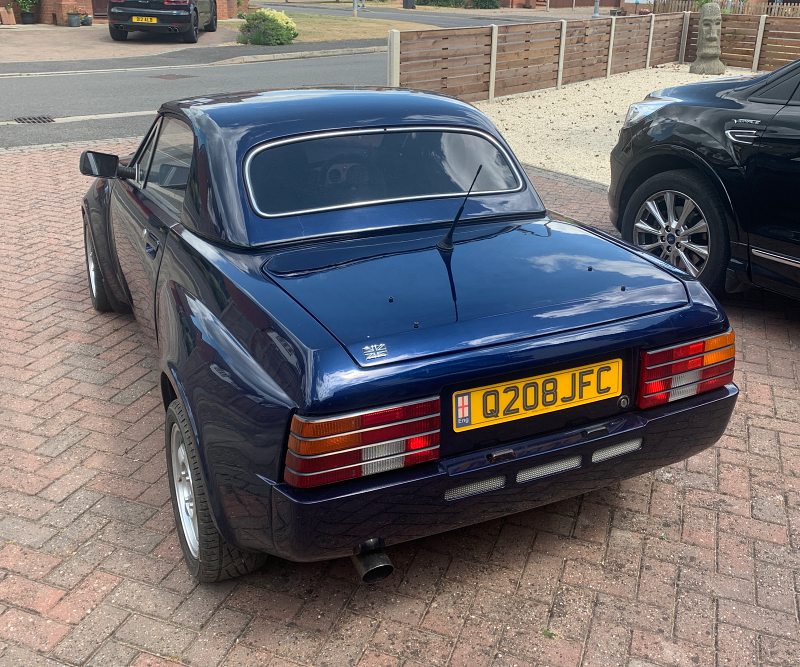
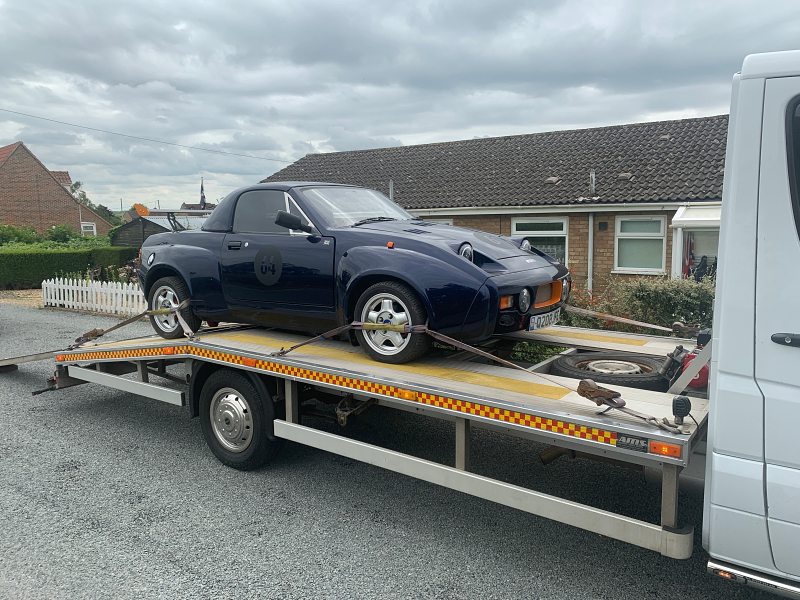
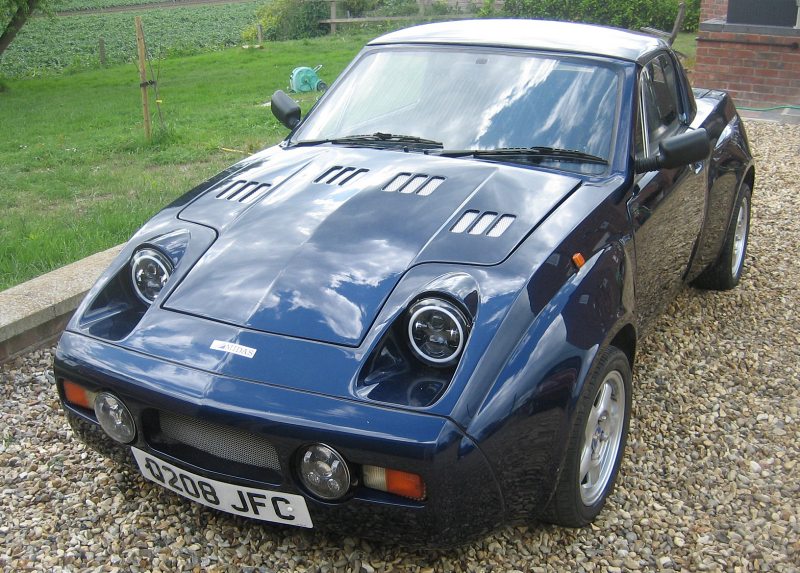
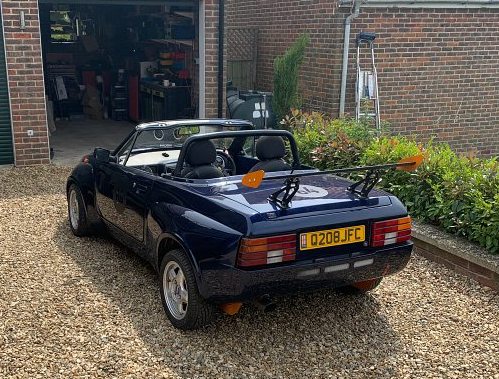
Today 24th June 2023 I collected the Midas convertible from Michael Green and had it delivered on a breakdown truck as it currently has issues which make it unsuitable for road use. Hopefully they will be sorted in the next couple of weeks and I will be able to enjoy using it in the current warm weather.
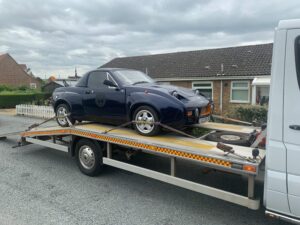
On the truck on its way home 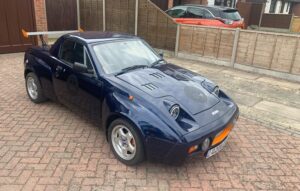
At home currently on the drive whilst I clear the garage. 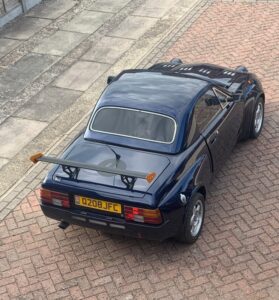
From above -
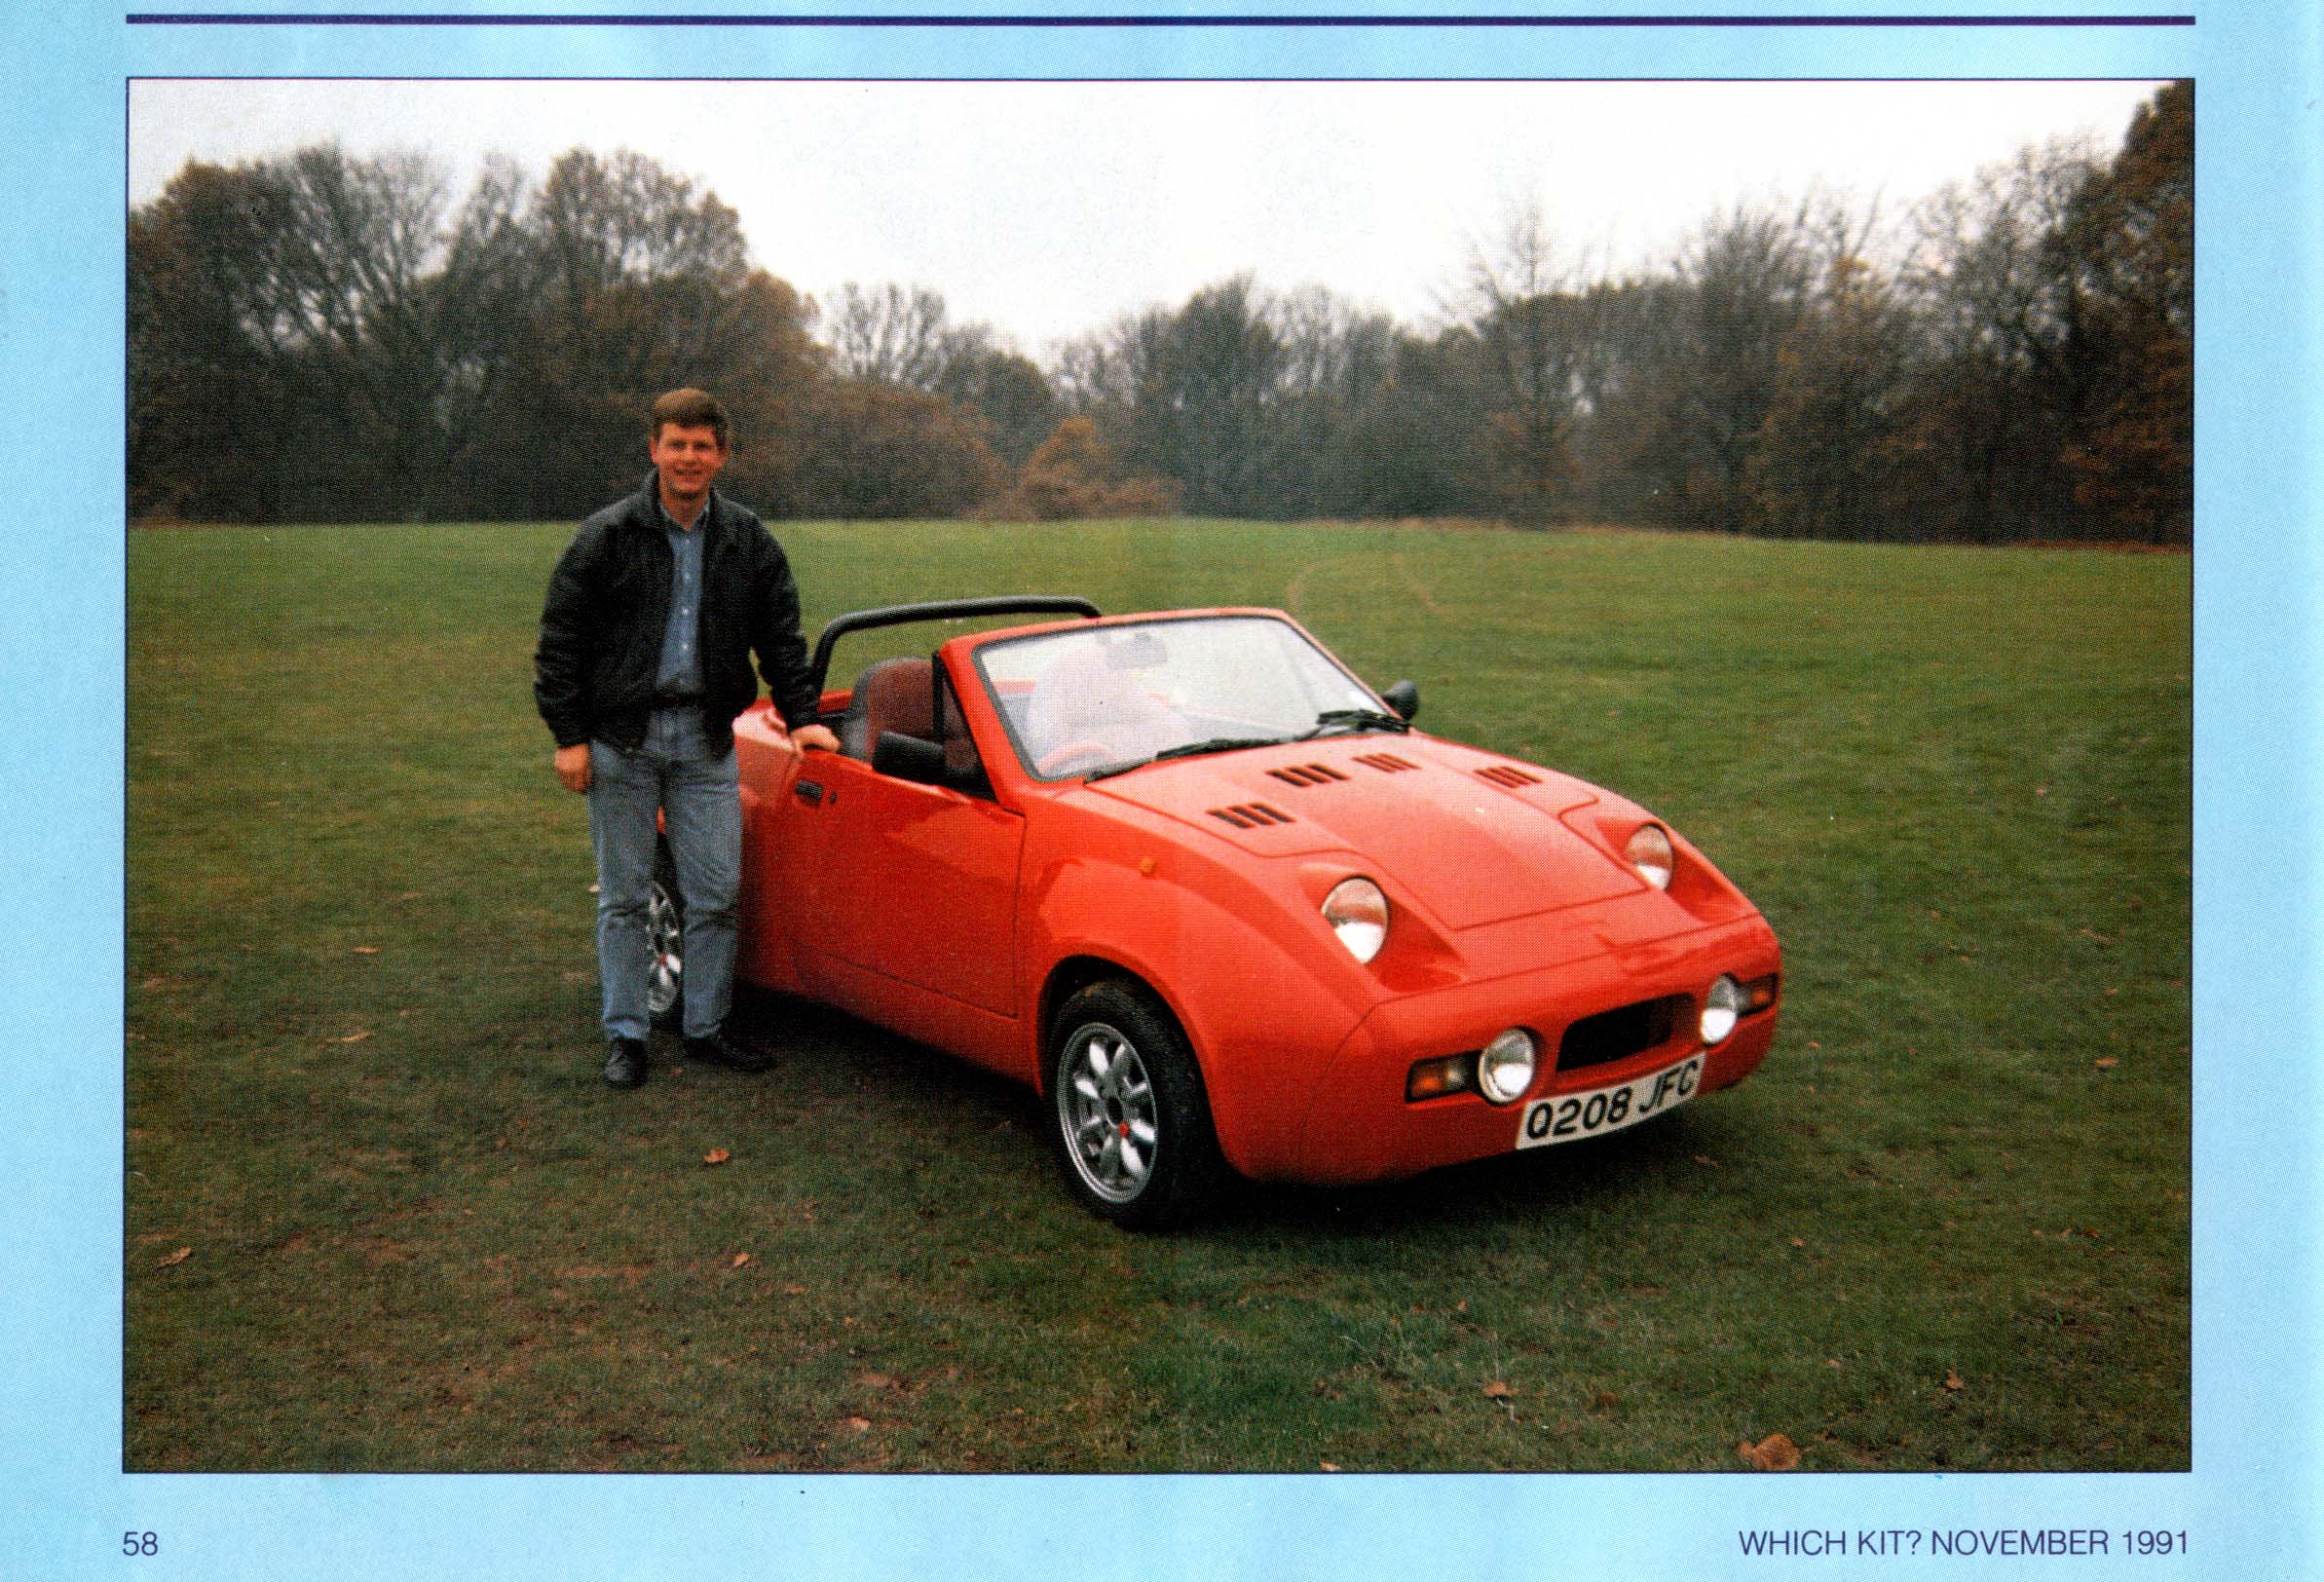
Original build
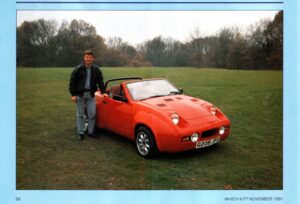 I found this original article on the building of the Midas in an old copy of WhichKit. It was a different colour with different wheels and different coloured window frames then. I don’t know when they were changed over the years. The associated article makes interesting reading as it seems that this was one of the first shells that was produced by Pastiche Cars and the build was not without issues.
 -
Jobs to do
I have bought my latest Midas knowing that there is work that needs to be done before I can use it. These are the jobs that I know need doing but suspect I will find more.
Work by specialist:
Sort out oil leak from head gasket
Sort out why brakes are locking on
Remove number stickers
Get MOT testedWork by me:
Remove rear spoiler
Remove towing straps front and rear
Remove towing stickers
Remove battery isolator switch and re-wire as necessary
Fix glove box not closing properly
Check wiring of day time running lights and rectify as necessary
Get the aluminium dash panels powder coated
Check and sort the wiring of various non-standard switches and warning lights
Seal bulkhead hole that has heater pipes running through it
Clean seats and interiorAt some time in the future I want to tidy up the engine bay and make the engine look prettier than it does now.
-